
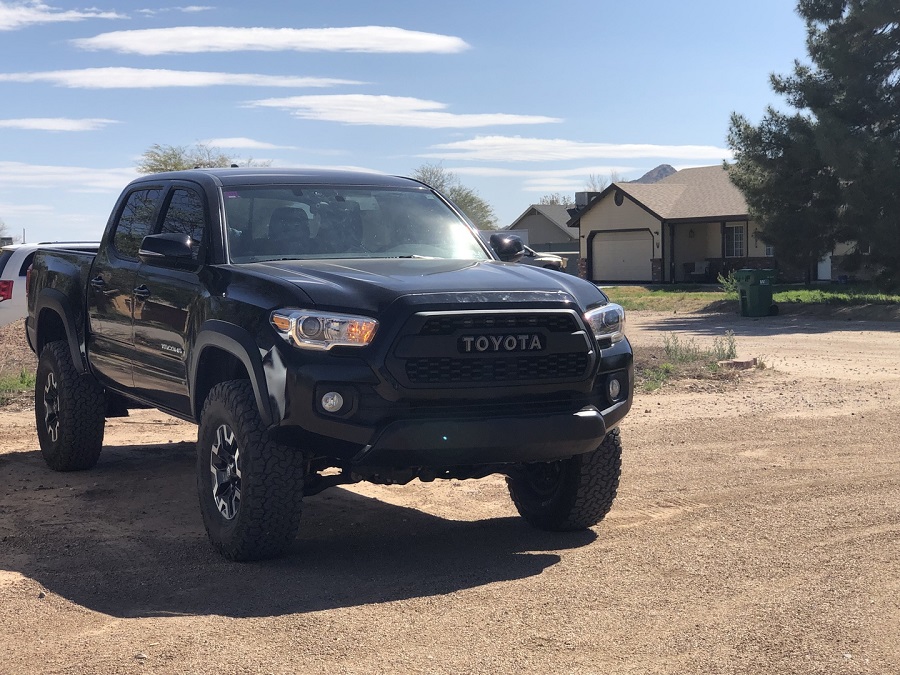
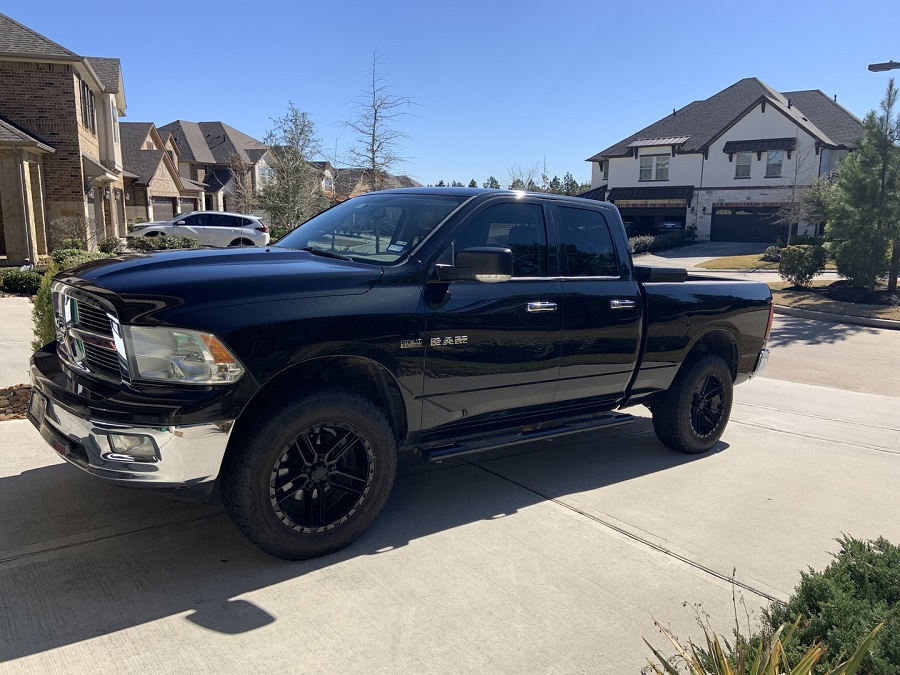
If you’ve looked for camber kits, please stop your steps. Look at KSP Performance camber kits. Installment guidelines are attached and listed below. You can reveal these directions to your neighborhood shop or use them as an overview if you’re mounting the suspension yourself. Look at KSP Performance tsx camber kit now.
DO NOT ADJUST them up until they get on the placement shelf unless you know what you are doing! If your store hasn’t done a Model 3 placement in the past, please have them assess this page thoroughly. SAVE YOURSELF cash by ensuring whoever is working on your automobile has all the information on hand to do the task effectively and effectively!
Unless the automobile is substantially lowered or a dramatically various placement is wanted (i.e., a lot of adverse camber to fit large wheels), no changes must be made to the arms. Just install them, and change them on the positioning rack.
Most significantly– NEVER have more than 20mm from the insurer’s side to the arm exposed. Any more than this is NOT ENOUGH.
This is the optimum allowed extension of the arm. No more than 20mm is allowed between the adjuster’s side and the edge of either arm.
Camber Installation Instructions:
Likely, jacking the car up and removing the wheels will certainly take longer than exchanging arms. There is nothing in the method to make the job challenging.
Find the eccentric adjuster for the toe arm. This is where the factory toe change is done.
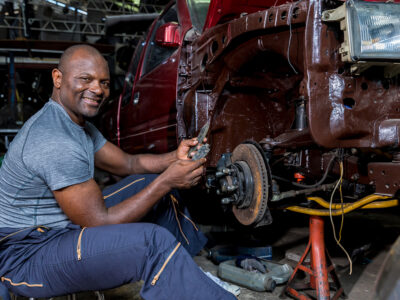
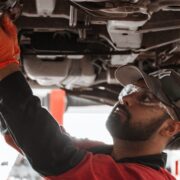
Get rid of the toe arm and camber arm using regular hand tools.
Mount the KSP arms similarly you got rid of the OEM arms. Torque the internal camber screw to 95lb-ft, and torque the inner toe arm to 60lb-ft. Loosely tighten the outboard knuckle screws, and loosen up the screw 1/2 turn.
Jack the suspension until the auto starts lifting off the jack or jack stand a little.
Inspect that the KSP insurance adjuster lock nuts are torqued to 105lb-in, making use of a 1/4 ″ torque wrench
Re-install wheels, remove jack-stands, and lower automobile.
Torque wheels to 129lb-ft
Your Model 3 placement should go smoothly currently! The very same get a Model Y!
Cyber Arm Installation Instructions:
The cyber rear grip and also trailing arms are straight ahead to mount. Nevertheless, there are a few small products that will certainly attempt to put up a fight, so below are some ideas.
Eliminate the grip arm. You will certainly combat to get the OEM screw out, but having the subframe a little reduced will certainly aid.
Mount the cyber traction arm with the provided 65mm long screw. This will make installation much easier. Torque to 60lb-ft.
Positioning shop instructions.
Loosen up M6 jam nuts from suspension arms.
Turn insurer as needed for wanted alignment setups.
Set the camber to approximately the wanted quantity.
Use the OEM toe adjuster to obtain the toe in the ballpark.
Establish the camber precisely and lock down the M6 screws, torquing them to 105in-lb. Must look KSP Performance camber arms now.
Anti-Size Instructions.
This is particularly important if you stay in a location with salty roads in the winter months. You can re-apply anti-seize without shedding your placement as it complies with.
With the wheel off, detach the screw connecting the arm to the suspension knuckle.
Measure and tape the space between the internal and external arm precisely, ideally making use of an electronic vernier caliper.
Loosen the outer clevis clamp screw and fully unthread the outer clevis. Apply anti-seize to the birthed and the strings of the insurance adjuster, and re-install the clevis back to the initial void. Tighten up the pinch bolt.
Loosen the internal arm secure screw, and unthread the insurance adjuster and outer clevis as a set up. Apply anti-seize to the birthed and the insurer’s threads, and re-install the arm back to the initial gap. Tighten up the pinch screw.


Comments